
Dishwasher Leaking: Where the Water May Be Coming From
Dishwasher Leaking guide: learn the key details, compare options, check verified sources, and make a safer decision before you act.
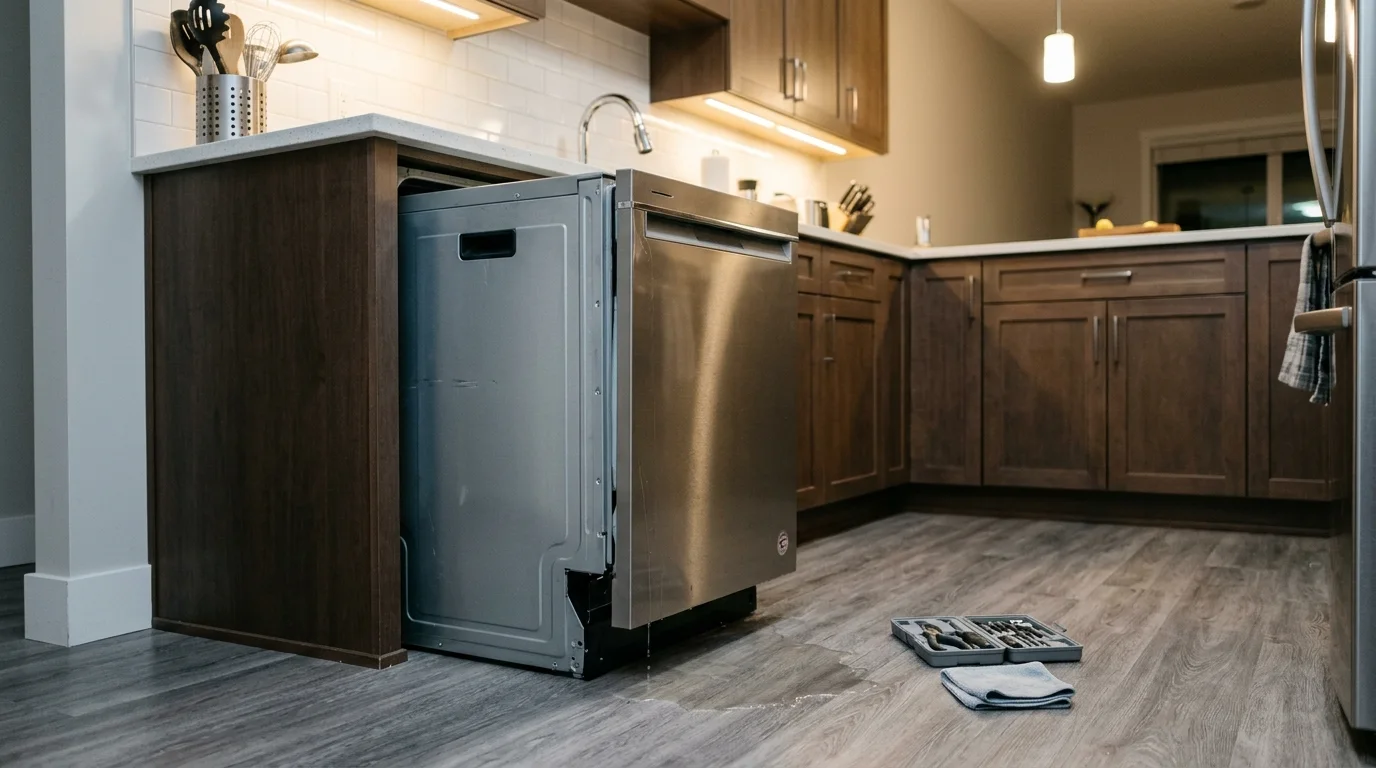
A leaking dishwasher can send water from several different places, and the puddle location is only the first clue. Water may escape around the door, from the supply connection, through a drain hose or pump area, or because excess suds or an overfill condition pushes water where it should not go. The timing of the leak often matters as much as where the water appears.
Dishwasher Leaking: Start With Where and When You See Water
A useful first step is to note two things before removing any panels: where the water becomes visible and when during the cycle it appears. Those observations do not prove which part failed, but together they can narrow the inspection considerably.
A leak at the front edge during the wash phase suggests a different cause group from a drip that starts underneath the machine while it fills. Water that appears only during draining points toward a different cause group entirely. It is also possible for water to travel along the dishwasher base or cabinetry before reaching the floor, so the visible puddle is evidence, not proof of the exact origin.
When to Stop Using the Dishwasher
Turn the dishwasher off and avoid another test cycle when the leak is heavy, water is reaching electrical areas, or there are signs of overheating. If you can safely reach the electrical panel without stepping into water, switch off the dishwasher circuit before approaching a wet appliance.
- Water is spreading toward an outlet, plug, junction box, or other electrical connection. Do not reach through standing water to unplug the appliance.
- You notice a burning smell, smoke, sparking, or visible scorching. Leave the dishwasher off until it has been professionally assessed.
- The leak continues even when the dishwasher is not running. Shut off the dishwasher water supply if you can do so safely. A pressurised supply-side leak can continue independently of the cycle.
- Water is escaping quickly enough to damage flooring, cabinets, or the unit below. Stop the cycle and control the water source before troubleshooting the appliance.
For a small front-edge drip with no electrical concern, the safest approach is still to stop repeated use while you identify an external cause. A minor leak can become a larger flooring or cabinetry problem if each cycle adds more water.
Leak Patterns That Can Narrow the Cause
Water appears along the front or at a lower door corner
Start by looking at the door area. A dirty, damaged, flattened, or obstructed gasket can leave a gap where wash water escapes. A utensil or rack item that prevents the door from closing squarely can create the same symptom without the gasket itself being defective. A loose or misaligned latch may also keep the door from sealing with even pressure.
Excess suds can mimic a failed door seal. Regular hand dish soap, too much automatic dishwasher detergent, or detergent that is not suitable for the machine can create foam that expands toward the door and escapes around the lower edge. Current Whirlpool and Maytag guidance both identify door-seal conditions and oversudsing as recognised leak causes. Whirlpool’s dishwasher leak troubleshooting guidance is a useful manufacturer reference for these external checks.
Water appears underneath or toward the front centre
A puddle underneath the unit can come from several internal paths, including the water inlet area, pump or sump seals, internal hoses, or a drain connection. Because water can run along the base before falling to the floor, the centre of the puddle is not a reliable map of the failed component. This is the point where cycle timing becomes especially useful.
If the leak starts while the dishwasher is filling, the supply connection, inlet valve area, overfill protection, or an internal fill hose deserves attention. If it appears mainly during wash circulation, pump or sump sealing becomes more relevant. If it begins during the drain phase, the drain hose, pump outlet, drain connection, or downstream plumbing is more likely to be involved.
Water appears near the sink cabinet
Not every dishwasher leak starts inside the dishwasher cabinet. Water can escape where the dishwasher drain hose connects to a garbage disposal, sink drain, or air-gap assembly. A loose clamp, cracked hose, or backed-up sink drain can send water into the sink cabinet and make the dishwasher seem like the source.
Observe whether the sink itself drains normally and whether water appears around the dishwasher hose connection while the machine drains. Do not assume the appliance needs a part simply because the puddle appears during a dishwasher cycle.
Why the Visible Puddle Can Mislead You
Water does not always fall straight down from the failed connection. Inside a dishwasher, it can run along the base, follow a hose, collect on insulation, or travel to the lowest edge before it reaches the kitchen floor. That means a puddle at the left front corner may have started farther back, and water under the centre of the door may have originated at a connection behind the kick area.
The same rule applies to timing. If you discover water after the cycle has finished, try to remember whether the floor was dry during filling, washing, and draining rather than assuming the final puddle formed at the end. A technician often reproduces the cycle while watching the appliance because where the water appears and when it first appears are separate pieces of evidence. Keeping those clues separate reduces the chance of replacing a visible door part when the actual leak began elsewhere.
Common Cause Groups for a Dishwasher Leak
Door gasket, latch, and loading problems
The door system has to hold back moving wash water while still opening and closing repeatedly. Food residue on the gasket, a utensil caught across the seal, a rack that is not fully seated, or a damaged gasket can all create an escape path. The latch also matters because the door may appear closed while failing to pull evenly against the seal.
Leak location helps here. Repeated moisture at the same front corner is more consistent with a sealing or alignment problem than water that first appears underneath during draining. Still, the visible location alone should not be used to order a gasket or latch without inspection.
Water supply connection or inlet-side leak
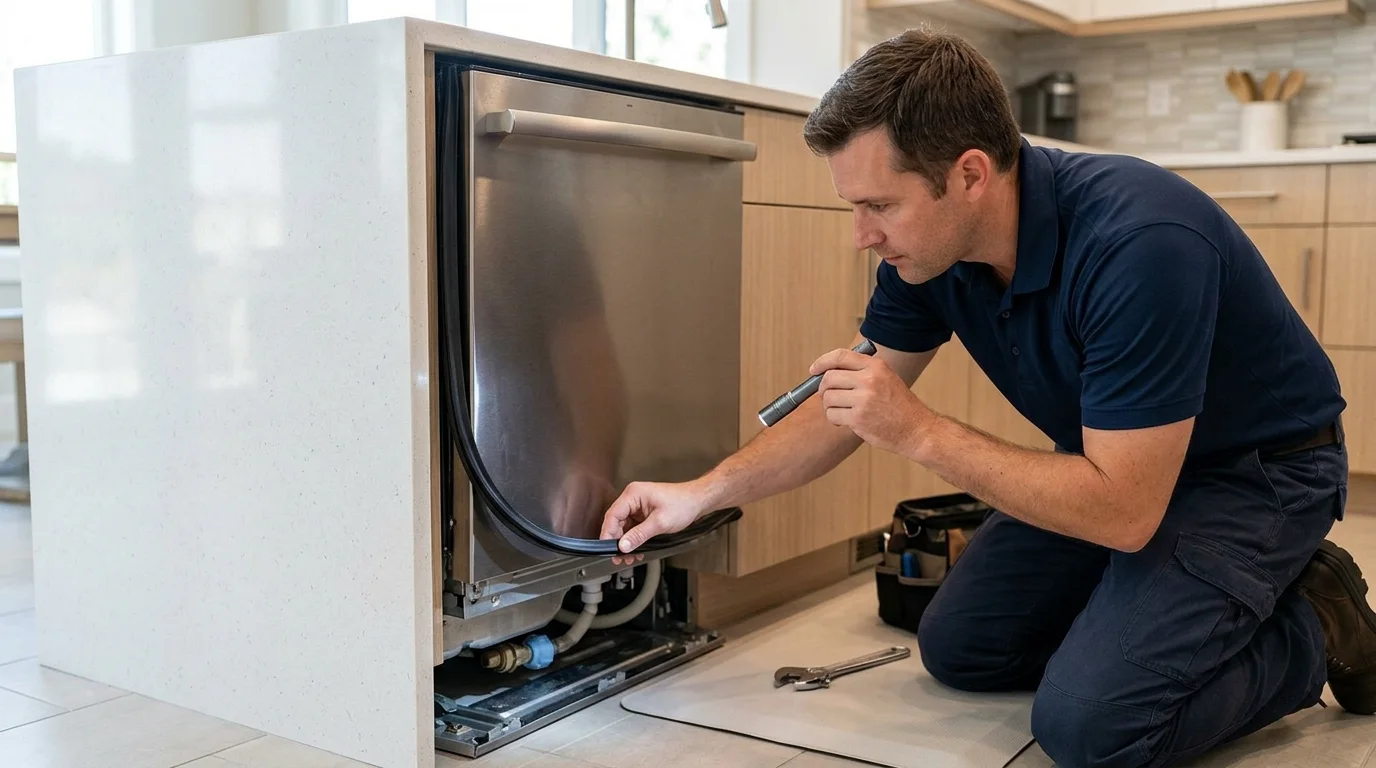
The dishwasher is connected to household water pressure through a supply line and inlet connection. Moisture at the connection, a damaged line, a worn sealing washer, or leakage around the inlet valve can produce a drip that appears during filling or, in some cases, while the machine is idle. Manufacturer installation guidance treats the water connection as a separate leak path from the door and drain system.
A supply-side leak deserves prompt attention because it is connected to pressurised household water. If water continues to appear while the dishwasher is off, shutting the supply valve and arranging service is more useful than running additional cycles to observe it.
Drain hose, pump, or sump area
During draining, the pump moves a substantial volume of water through the drain hose toward the sink plumbing. A cracked hose, loose connection, leaking pump housing, failed seal, or obstruction that increases pressure in the drain path can show up only during this part of the cycle.
A dishwasher that both leaks and leaves standing water may have a drainage problem as part of the same complaint. That relationship is useful, but it still does not prove that the drain pump itself has failed. The restriction may be downstream, at a hose connection, or elsewhere in the drain path.
Excess suds and detergent problems
Foam changes how water behaves inside the tub. Instead of remaining as a controlled liquid level, suds can expand into areas that are not designed to contain them and push moisture out at the lower door. This is why a dishwasher can suddenly appear to have a door leak after the wrong soap was used even when the gasket is intact.
If you see an unusual amount of foam inside the tub, stop adding detergent and follow the appliance manufacturer’s instructions for clearing the suds. Do not keep running full wash cycles in an attempt to flush the machine while it is actively leaking.
Overfill, levelling, and installation factors
A dishwasher that is not sitting correctly can direct water toward the door instead of keeping it where the tub design expects. Installation issues can also affect hose routing, door alignment, and how the machine sits inside the cabinet opening. An overfill condition is different: the water level itself becomes too high because the fill process is not being controlled as expected.
These possibilities are another reason to avoid diagnosing by puddle location alone. A front leak can be caused by the seal, but it can also be the place where water escapes after a separate filling or installation problem raises the water level.
Safe Checks a Homeowner Can Make
Keep the first inspection external and visual. You can learn a surprising amount without removing the kick plate, disconnecting wiring, or reaching into the pump area.
Inspect the door seal and the way the door closes
With the dishwasher off, wipe the gasket gently and look for food debris, cuts, flattened sections, or a portion that is visibly out of position. Check that no utensil, pan handle, or rack item projects into the sealing area. Close the door normally and note whether the latch feels different from usual or whether one side appears to sit farther out.
Look for signs of excess suds
If the leak started after changing detergent or after hand dish soap was accidentally used, inspect the tub for lingering foam. The presence of heavy suds changes the diagnostic picture considerably and may explain a front leak without a failed seal.
Check visible sink-cabinet connections
Look where the dishwasher drain hose meets the sink drain, garbage disposal, or air gap if your installation uses one. Moisture around that connection is different from water emerging from under the dishwasher itself. Also note whether the sink is draining slowly, because a downstream plumbing restriction can affect the dishwasher drain path.
Check the visible supply line area
If the supply shutoff and visible hose connection are accessible in the sink cabinet, look for dampness or mineral staining around the connection. Do not loosen a pressurised fitting just to test it. If it is actively leaking, shut off the supply valve if safe and leave repair or reconnection to someone equipped to handle the water connection correctly.
Confirm the dishwasher is not obviously out of position
A unit that has shifted, rocks noticeably, or no longer sits squarely in the cabinet opening may have an installation or levelling issue contributing to a door leak. The exact levelling procedure varies by model and installation, so use the installation instructions rather than guessing at adjustment points.
What a Technician May Inspect or Test
If the external checks do not identify the leak, the useful next step is to reproduce the symptom under controlled conditions and watch the dishwasher through the part of the cycle when the water appears. The technician is trying to find the origin, not simply the place where the puddle reaches the floor.
Depending on the timing and location, the inspection may include the inlet valve and supply connection, the float or water-level system, internal fill and drain hoses, pump and sump sealing surfaces, the drain pump outlet, door alignment, latch engagement, and wiring in any area exposed to water. A drain-phase leak may also require checking the connection to household plumbing.
Cycle timing provides a practical test framework. A leak that begins during fill points toward a different set of components from one that appears only while the circulation pump is running. A leak that starts when the drain pump energises shifts the inspection toward the drain path. That sequence-based approach prevents unnecessary parts replacement based only on where the water finally became visible.
Repair or Replace Depends on the Confirmed Leak
A dishwasher leak is not automatically a replacement-level problem. A door alignment issue, hose connection, gasket, inlet-side fitting, or other isolated fault can be a very different repair decision from a cracked tub or several age-related problems occurring together.
Do not use one age cutoff or percentage rule as though it applies to every machine. After the leak source is confirmed, compare the repair scope with the dishwasher’s overall condition, history of problems, parts availability, and the cost and features of a comparable replacement. That makes the decision specific to the appliance rather than to the symptom.
When to Request Appliance Repair
If the leak continues after the simple external checks, appears from underneath the dishwasher, continues when the appliance is off, or occurs near electrical components, a professional assessment is the sensible next step. Repeated test cycles are rarely useful once the problem is clearly beyond a door obstruction, excess suds, or another obvious external cause.
For more information about professional diagnosis, see the dishwasher repair service page. You can also Request Appliance Repair to connect with an independent appliance repair contractor serving your area.
Need Appliance Repair?
Share the appliance, brand, address, symptoms and optional photos online. A contractor can review the request and contact you about availability and next steps.
Start Your Repair Request