
Dryer Runs but Has No Heat: Common Causes
Dryer Not Heating Up guide: learn the key details, compare options, check verified sources, and make a safer decision before you act.
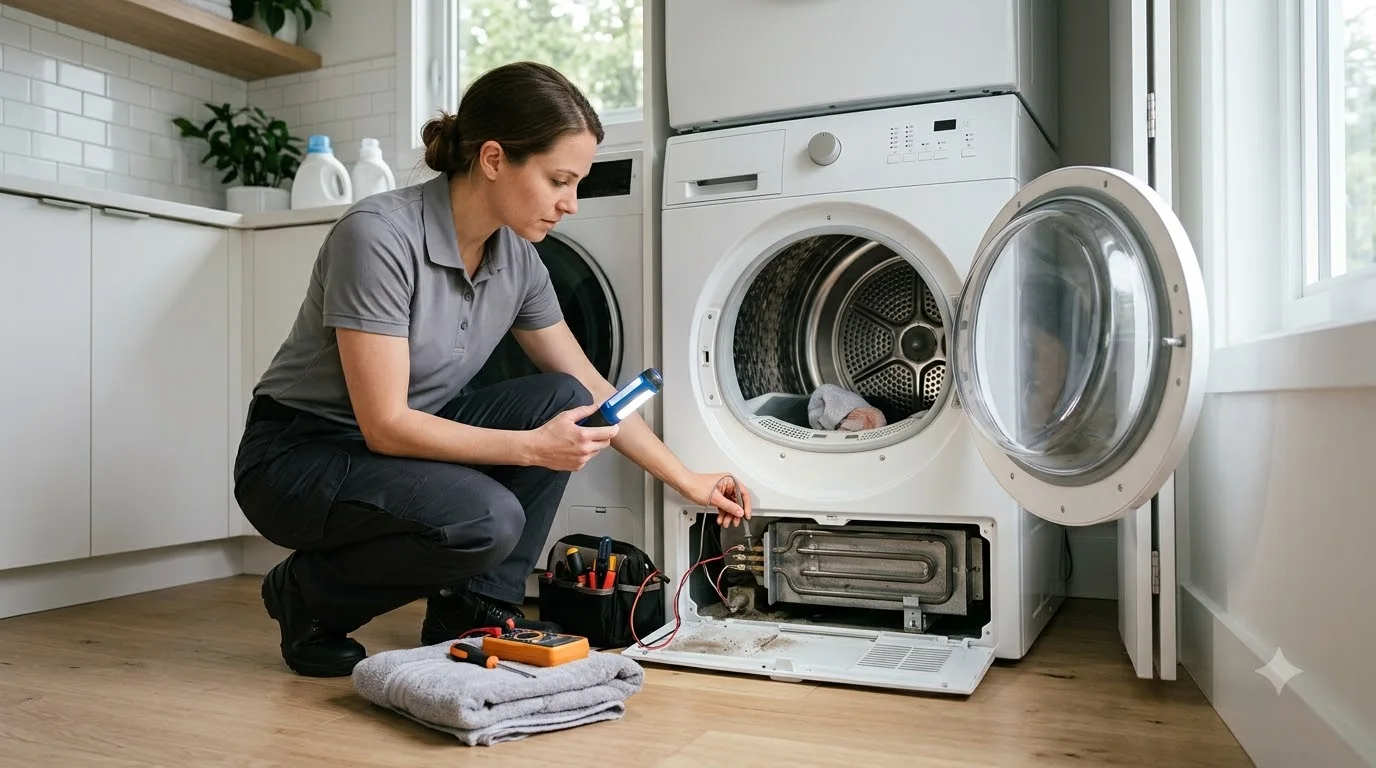
A dryer that tumbles without producing heat has already shown that at least part of the drive system is working. The next diagnostic split is the heat path: electric models depend on the full power supply and electric heating circuit, while gas models use an ignition and gas-heating sequence. Cycle settings and airflow still matter because the same no-heat complaint can come from more than one system.
When to Stop Using the Dryer Immediately
Most no-heat dryer problems are not emergencies, but a few situations call for stopping use immediately.
- Burning smell or a scorched odour during or after a cycle. This can indicate lint near a heat source, overheating components, or a failing part. Stop use until the cause is identified.
- Gas odour (gas dryers only). If you smell or suspect natural gas, leave the area immediately and call 911 or Enbridge Gas from a safe location. Do not operate the dryer, use electrical switches, or try to locate the source yourself. Enbridge Gas Ontario provides the current emergency guidance.
- Repeated circuit breaker trips. An electric dryer that keeps tripping its breaker may have a wiring fault or a shorted heating element. Stop use immediately; continued operation is a fire risk.
- Visible damage, melted components, or burn marks inside the drum or cabinet. Stop use and have the appliance assessed before running it again.
Gas-side diagnosis and repair are regulated work in Ontario. TSSA states that gas appliance work must be performed by appropriately certified gas technicians working for registered fuels contractors. If the problem involves the burner, igniter, gas valve, or supply connection, use a TSSA-regulated fuels contractor rather than attempting gas-side repairs yourself.
Symptom Patterns That Help Narrow the Problem
The specific symptom pattern can narrow the likely cause before a technician opens the machine. Paying attention to exactly what the dryer is doing, rather than just noting “no heat,” gives useful diagnostic information.
Dryer tumbles with zero heat from the start of the cycle. This pattern suggests a component failure that prevents the heating system from engaging at all. Common candidates include a blown thermal fuse, a failed heating element in electric models, or a broken igniter or gas valve solenoid in gas models. A fully tripped circuit breaker leg is also a possibility for electric dryers.
Dryer heats briefly then stops mid-cycle. When the dryer starts warm but cools off before the cycle ends, the cycling thermostat or a high-limit thermostat is often involved. A partially clogged vent can also cause the dryer to heat until it trips a safety component, then produce no further heat for the rest of the cycle.
Clothes take much longer to dry but the dryer still produces some warmth. This pattern often points to restricted airflow rather than a failed heating component. A clogged lint screen, a blocked vent duct, or a kinked exhaust hose can each cause this. Heat is present but moisture has nowhere to exhaust properly, so drying performance drops significantly.
Electric dryer produces no heat but runs normally in every other way. Electric dryers run on a 240-volt supply made up of two 120-volt legs. If one leg of the breaker trips, the motor and drum can continue running on the remaining 120 volts while the heating element loses power entirely. The dryer appears completely normal except for the absence of heat.
Common Causes of a Dryer Not Heating Up
The most likely cause depends on whether you have an electric or gas model.
Electric Dryer Causes
Tripped circuit breaker. An electric dryer requires a dedicated 240-volt circuit. If one leg trips, the drum continues turning while the heating circuit loses power. Check the electrical panel for a partially or fully tripped breaker before assuming an internal component has failed.
Blown thermal fuse. The thermal fuse is a one-time safety device designed to cut the heating circuit if the dryer overheats. Once blown, it does not reset and must be replaced. A blown thermal fuse can reflect an underlying overheating condition, so restricted airflow and other heat-control problems should be checked when the fuse is replaced. Replacing the fuse without addressing the cause can lead to a repeat failure.
Failed heating element. The heating element is the component that generates heat in electric dryers. Elements can fail gradually, producing intermittent heat, or fail completely. A broken coil can sometimes be seen visually, but a multimeter test for continuity is the reliable way to confirm failure.
Faulty thermostat. Electric dryers use both a cycling thermostat, which regulates normal operating temperature, and a high-limit thermostat, which acts as a safety cutoff. A faulty cycling thermostat can cause the element to shut off too early or not activate at all. A failed high-limit thermostat can prevent the heating circuit from engaging entirely.
Gas Dryer Causes
Gas supply problem. Before assuming a component failure, confirm that the gas shutoff valve behind the dryer is fully open and that other gas appliances in the home are working. A closed valve or a temporary supply interruption can prevent the burner from igniting without any internal component actually failing.
Blown thermal fuse. Gas dryers also have thermal fuses. As with electric models, a blown thermal fuse can be associated with overheating, and restricted exhaust airflow is one important condition to check.
Failed igniter. The igniter heats to a high temperature in order to ignite the gas at the burner. When the igniter fails, the burner never lights. An igniter that glows but still fails to ignite the gas can point to a problem with the flame sensor or gas valve solenoid coils rather than the igniter itself.
Gas valve solenoid coils. The gas valve uses solenoid coils to open and allow fuel to reach the burner. When one or more coils fail, gas flow stops and the burner cannot light, even when the igniter is working properly. This is a commonly misdiagnosed failure point in gas dryers, because the igniter may still glow without the burner ever lighting.
Flame sensor failure. The flame sensor monitors whether the burner has ignited. A failed sensor can prevent the gas valve from opening, or cause the igniter to cycle on and off without the burner ever staying lit.
Causes Common to Both Electric and Gas Dryers
Restricted exhaust vent. Lint buildup, a crushed transition duct, or a blocked exterior termination can reduce airflow, extend drying time, and contribute to overheating. Restricted venting is also a documented dryer-fire risk. Envista Forensics Canada discusses dryer and vent cleaning as an important prevention measure. The right cleaning interval depends on the installation and use, so persistent low airflow or repeated overheating deserves investigation rather than a one-size-fits-all schedule.
Timer or control board failure. On older mechanical-timer dryers, a faulty timer can prevent the heat circuit from completing. On newer digital models, a faulty control board can stop the heating system from activating. These failures are less common than fuse, element, or vent issues and are generally diagnosed after simpler causes have been ruled out.
Safe Checks Before Calling a Technician
A few checks can either resolve the problem or give a technician useful information when they arrive. All of these can be done without opening the dryer cabinet.
Confirm the drying cycle setting. Some cycles use cool or unheated air by design, including air fluff, cool-down, and some delicate or low-heat settings. Confirm that the dryer is set to a heated drying cycle before troubleshooting further.
Inspect and clean the lint screen. Remove the lint screen and clean it thoroughly. A film of fabric softener residue can restrict airflow through the mesh even when the screen looks clean. Rinse it with warm water and allow it to dry before reinserting. Vacuum the lint screen slot as well.
Check the exterior vent cap. Walk outside and confirm that the exhaust vent cap is not blocked by lint, debris, ice, or a bird nest. The flap should open freely when the dryer is running. A blocked exterior cap can restrict airflow enough to cause overheating even if the duct itself is relatively clear.
Inspect the vent hose behind the dryer. With the dryer unplugged, check the vent hose for kinks, crushing, or disconnection. A hose pushed hard against the wall during installation can become kinked enough to restrict airflow significantly.
Electric dryers: check the circuit breaker. Go to the electrical panel and look for a breaker in a partially or fully tripped position. Reset it by moving it fully to off, then back to on. If the breaker trips again immediately, stop there and call a technician. Continued resetting of a breaker that keeps tripping can be a fire risk and points to a fault that needs professional assessment.
Gas dryers: confirm the gas supply. Check that the shutoff valve on the gas line behind the dryer is in the open position, with the handle parallel to the pipe. Confirm that other gas appliances in the home, such as a water heater or range, are working. If no gas appliances are functioning, the issue is with the supply, not the dryer itself.
Internal disassembly, component testing, and any work on gas-side components should be left to a qualified appliance technician. Opening the dryer cabinet without experience can create safety risks and cause unintended damage to components.
What a Technician Will Inspect or Test
A technician diagnosing a dryer not heating up will typically confirm the symptom under power before opening the machine. The sequence of testing varies by technician and by the initial findings, but the following components and systems are commonly assessed.
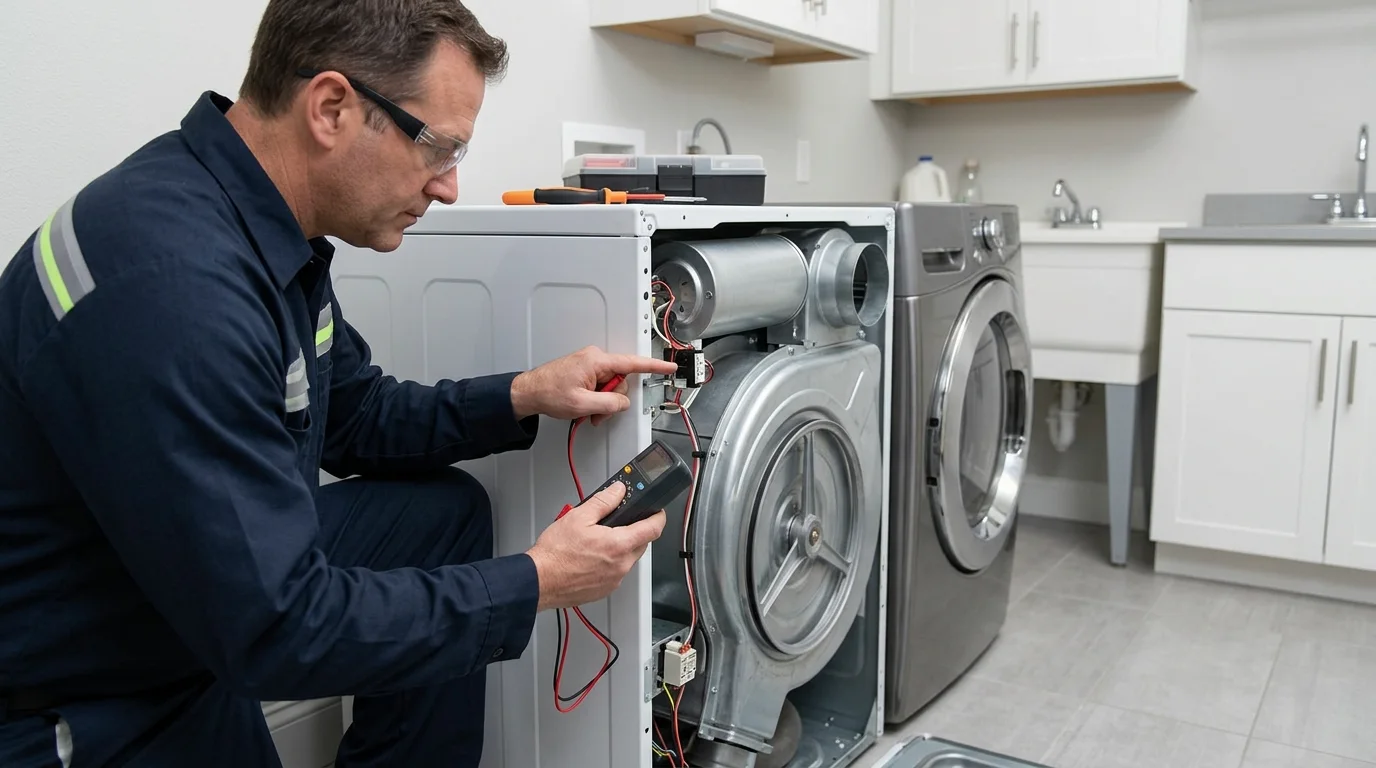
Thermal fuse. The fuse is tested for continuity with a multimeter. A fuse that shows no continuity has blown and is confirmed failed. The technician will also assess vent airflow to determine whether a restricted exhaust contributed to the failure. Replacing the fuse without correcting an underlying overheating or airflow problem can lead to another failure.
Heating element (electric dryers). The element is tested for continuity and inspected for visible breaks, burns, or contact with the housing. An element that has shorted to the housing can trip the breaker repeatedly even if it still produces some heat.
Igniter and gas valve solenoid coils (gas dryers). The igniter can be assessed visually by observing whether it glows at startup. Solenoid coils are tested with a multimeter within a specified resistance range. All gas-side component assessment and replacement in Ontario requires a TSSA-certified gas technician under O.Reg. 212/01.
Thermostats and temperature controls. A technician checks the cycling thermostat, high-limit protection, and any temperature sensors using the service data for the specific model. The exact circuit logic and failure behaviour vary by dryer design, so continuity readings are interpreted in context rather than treated as a universal diagnosis.
Vent airflow. A technician may assess exhaust flow at the vent outlet to confirm the duct is sufficiently clear. If the vent is found to be restricted, clearing it or arranging professional duct cleaning is part of completing the repair correctly. A heat repair finished without addressing a blocked vent is likely to fail again.
Timer or control board. If all components test within specification but the dryer still does not heat, the control board or timer is evaluated as a possible cause. Control board diagnosis can require manufacturer-specific test procedures and may be the last step in a systematic diagnostic process.
Repair Versus Replacement
A no-heat symptom by itself does not decide whether repair or replacement makes more sense. Start with the confirmed fault, then weigh the quoted repair scope, the dryer’s overall condition, repair history, parts availability, and the cost and features of a comparable replacement.
A single isolated heating or airflow fault on an otherwise reliable dryer can be a very different decision from repeated overheating or several developing problems at once. For a structured way to compare those factors after diagnosis, see the guide on repairing or replacing an appliance.
When to Request Appliance Repair
If your dryer is tumbling without heat and the checks above did not identify a straightforward fix such as a tripped breaker or a closed gas valve, a professional diagnostic assessment is the logical next step. A technician can test the thermal fuse, heating element, and other components accurately, confirm whether a clogged vent contributed to the failure, and provide a repair estimate before any work proceeds.
For dryer repair in the Toronto area, a diagnostic visit from a qualified technician can identify the specific failed component and advise on whether the repair is worthwhile for the age and condition of the appliance. Request Appliance Repair to schedule a visit.
Need Appliance Repair?
Share the appliance, brand, address, symptoms and optional photos online. A contractor can review the request and contact you about availability and next steps.
Start Your Repair Request