
Washer Leaking Water: How the Leak Location Helps
Washer leaking? Use the first wet point and cycle timing to separate supply, door-seal, drain, pump and tub-area causes before opening the cabinet.
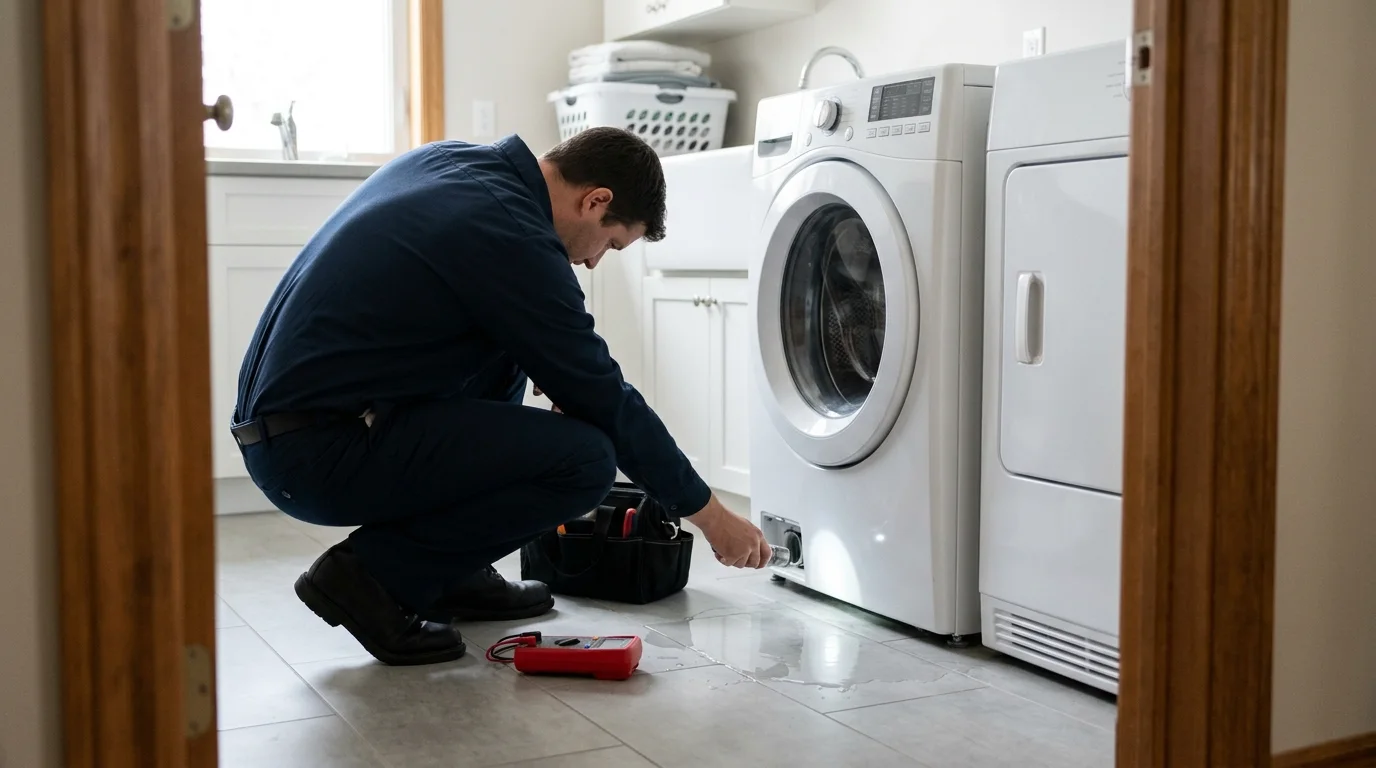
A washing machine that’s leaking is best diagnosed by pairing the first wet point with the cycle stage when water appears. Water can travel along hoses and cabinet surfaces before reaching the floor, so the puddle location is evidence rather than proof of the source. Timing helps separate supply, fill, wash, drain, pump and door-seal causes before the cabinet is opened.
When to Stop Using the Washer Immediately
Not every leak is a situation you can observe across a few more cycles. Stop using the washer and shut off both water supply valves if any of the following apply:
- Water is pooling near an electrical outlet, the power cord, or the plug
- The leak is heavy or continuous rather than an occasional slow drip
- The floor near the washer feels soft, spongy, or shows staining from prolonged moisture
- Visible mould growth or a persistent musty smell is coming from the laundry area
- The supply hoses at the back of the machine show bulging, visible cracking, or corrosion at the fittings
Water near electrical components creates a shock and fire hazard. If you can reach the electrical panel from a dry, safe location, switch off the washer circuit before going near the appliance. Do not step into standing water to unplug the washer. Shut off the water supply as well, then wait until the area is safe before making any further observation or arranging a professional assessment.
For a related next step, read washer dryer repair Toronto.
How Leak Location and Cycle Timing Narrow the Cause
Repair technicians typically use two pieces of information together: where on the machine water appears, and which phase of the cycle it corresponds to. Neither clue proves which part has failed, but the combination reduces the list of likely sources considerably and guides where an inspection should start.
Leaks at the front on a front-load washer often trace back to the door seal, also called the boot gasket. Tears, trapped debris, or soap scum buildup along the gasket folds can prevent a proper seal from forming. On top-load washers, a puddle at the front may come from a clogged or tilted overflow tube or a detergent tray that has overflowed.
Leaks at the back often point first to the hot and cold supply hoses connecting the wall taps to the washer, the drain hose connection at the standpipe, or the water inlet valve mounted at the rear of the machine. These are generally accessible for visual inspection without removing any panels.
Leaks underneath are harder to trace without pulling the washer forward. Likely sources include the drain pump, internal hose clamps, the tub seal around the drum shaft, or a cracked drain pipe. Water often travels along cabinet surfaces or wiring harnesses before reaching the floor, so the puddle may not be directly below the failure point.
Cycle timing adds a useful second layer:
- Leaking during the fill phase can indicate a supply hose problem, a faulty water inlet valve, or a water level switch that allows the tub to overfill
- Leaking during wash or agitation often points to a tub seal issue, detergent overdose producing excess suds, or an overloaded drum
- Leaking during drain or spin commonly involves the drain hose, the drain pump, or internal hoses that carry water under higher pressure during those phases
- A slow drip that appears even when the washer is not running suggests the inlet valve is not fully closing between cycles
Common Cause Groups for a Leaking Washer
The following groups cover the sources a technician will typically investigate during a washer leaking diagnosis. Actual identification of a failed part requires direct observation and often partial disassembly, so this section is a guide to what is commonly involved rather than a self-repair checklist.
Supply Hoses
The hot and cold hoses connecting the washer to your household taps are among the most frequently identified leak sources. They can loosen at the fittings over time, develop cracks along the hose body, or corrode where the metal coupling meets the valve. Because supply hoses remain connected to your home’s water pressure at all times, a hose that fails while the machine is running can release a large volume of water quickly.
Door Seal or Boot Gasket (Front-Load Washers)
Front-load washers rely on a flexible rubber door seal to create a watertight closure during the cycle. This seal can develop tears from zippers, coins, or accumulated debris, and mould or soap residue in the gasket folds can prevent it from seating properly. A damaged or deteriorated door gasket is a documented cause of front-load washer leaks at the door area and may require gasket replacement when damage is confirmed.
Drain Hose and Standpipe Connection
The drain hose carries used water out of the washer and into a standpipe or laundry sink. A loose connection at the machine end, a crack in the hose body, or a standpipe that cannot handle the drain flow quickly enough can all allow water to escape during the drain phase. A drain hose inserted too deeply into the standpipe can also create a siphon effect that leads to abnormal draining alongside visible leaking.
Drain Pump
The drain pump expels water from the drum during drain and spin cycles. Pumps can crack, develop loose hose connections, or wear out internally over time. In models with an accessible pump filter, a heavily clogged filter can cause water to back up and escape through gaps in the pump housing. Drain pump leaks typically appear underneath the machine and tend to be most noticeable during the drain or spin stage.
Detergent Use and Overloading
Using more detergent than necessary, or using standard detergent in a high-efficiency (HE) washer, produces excess suds that can overflow during the wash phase. This foam escapes through the detergent drawer, the door seal, or other openings and may look identical to a mechanical leak. Overloading the drum stresses hose connections and seals and causes water to slosh beyond its intended containment during agitation or spin.
Water Inlet Valve
The water inlet valve controls how water enters the tub. When this valve begins to fail, it may not close fully after the fill phase, allowing a continuous slow drip into the drum. Over time, water accumulates and can overflow or escape through available gaps. A leaking inlet valve often presents as moisture that appears whether the washer is actively running or not, which distinguishes it from leaks that are tied to a specific cycle phase.
Tub Seal and Outer Tub
A washing machine has an outer tub that holds water and an inner drum that rotates. The seal around the rotating shaft can deteriorate with age and use. As noted in Maytag’s washing machine service guidance, a faulty tub seal or outer tub fault during the fill or agitation phase is a recognised cause of washer leaking that typically requires professional repair. Internal tub leaks often produce water that pools underneath the machine rather than appearing at an obvious external connection point.
Safe Checks Before Calling a Technician
Before arranging a service call, a few observations and basic external checks can help you confirm simple causes and describe the problem clearly. These are intended to supplement a professional diagnosis, not replace it. None of them require removing access panels or working near live electrical components.
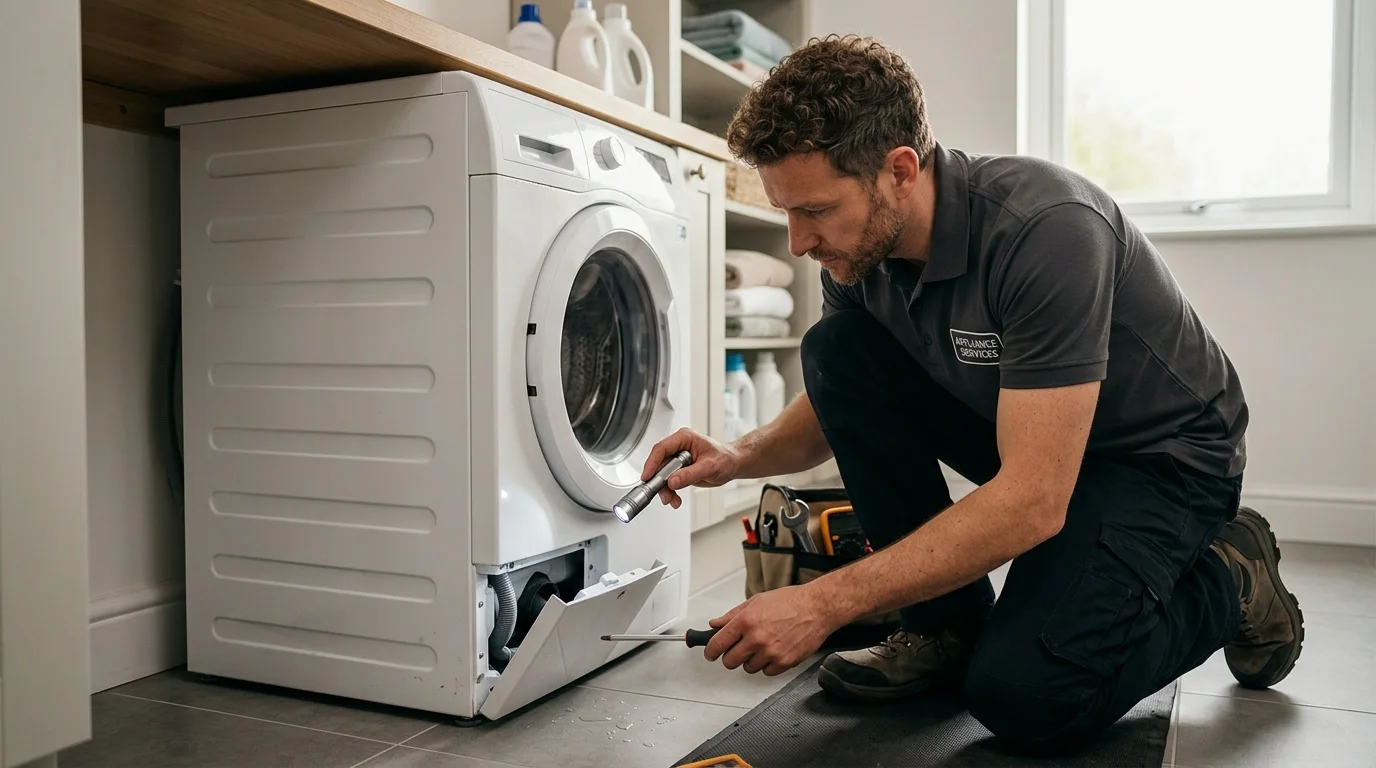
Check the supply hoses. With the washer unplugged and both supply valves turned off at the wall, inspect the hot and cold hoses at each end. Look for dampness at the couplings, corrosion on the fittings, visible cracks along the hose body, or soft bulging. Gently hand-tighten a fitting that feels loose, but avoid overtightening corroded metal couplings. Note any damage you find for the technician.
Inspect the door seal on front-load washers. Open the door and run your fingers around the full circumference of the rubber gasket. Look and feel for tears, coins or debris caught in the folds, and accumulated mould or soap residue. Removing loose debris from the gasket folds with a damp cloth is generally safe. A gasket that is torn or structurally compromised will require professional replacement rather than cleaning.
Check the drain hose connection. Confirm the drain hose is properly seated in the standpipe or drain outlet and is not cracked or kinked near the connection point. Note any moisture along the visible portion of the hose or at the standpipe fitting.
Inspect the detergent dispenser. Check whether the detergent drawer shows overflow residue, buildup, or a blockage. Clearing a clogged detergent drawer is generally straightforward and can occasionally resolve what appears to be a machine leak when the actual source is detergent overflow rather than a failing component.
Run a test cycle only if the warning signs above are absent. If the leak is minor, there is no water near electrical components, and the supply hoses show no sign of active failure, you can run a small supervised test load with the manufacturer-recommended amount of HE detergent. Stay with the washer and stop the cycle if water appears. Note whether the leak starts during fill, wash, drain, or spin and where the water first becomes visible. This combination of timing and location gives a technician useful diagnostic information.
What a Technician Will Inspect or Test
A professional assessment of a washer leaking problem goes beyond what is visible or accessible from the outside. Depending on what initial checks and cycle observations suggest, a technician may carry out some or all of the following:
- Pull the washer forward to inspect rear hose connections, the water inlet valve, and the back of the drain hose at the machine
- Remove front or rear access panels to check internal hose clamps, the drain pump housing, and the tub seal
- Run a controlled test cycle while observing specific components to identify exactly where and when water escapes
- Check the water level switch or pressure sensor to determine whether the tub is filling beyond its intended capacity
- Inspect the drain pump filter for blockages and assess the pump body for cracks or damaged seals
- Evaluate the door gasket on front-load machines structurally, not just for visible debris or surface mould
Because water can travel along wiring harnesses, cabinet walls, or other internal surfaces before it reaches the floor, the puddle location alone is not always a reliable indicator of where the failure actually originated. This is one of the main reasons a professional inspection differs meaningfully from external observation, and why the same visible puddle can have several very different causes depending on what a technician finds inside.
Repair or Replace: A Few Words on Leak-Related Decisions
Most leaks traced to supply hoses, door gaskets, drain pumps, or inlet valves are repairable, and parts for common washer models are generally available. The repair-or-replace question becomes more relevant when the source turns out to be a cracked outer tub, significant bearing wear, or several failing components on a machine that is already well past its typical service life. A technician assessment will usually clarify whether the estimated repair cost is proportionate to the machine’s age and condition before you commit to either path.
When to Request Appliance Repair
A washer leaking that returns after a basic fix, or one where the source is not clearly external, is worth having professionally assessed sooner rather than later. Water reaching flooring, walls, or subfloor materials can lead to damage that costs considerably more to address than the original appliance repair. Leaks near electrical components should be treated as urgent rather than something to monitor over time.
If you have worked through the external checks above and the source remains unclear, if the machine continues to leak after an apparent fix, or if you would prefer a professional diagnosis before deciding on next steps, a qualified appliance repair contractor can inspect the washer, identify the failure point, and advise on appropriate action.
For washer repair service in the Toronto area, visit our washer repair page for more information, or Request Appliance Repair to get an assessment started.
Frequently Asked Questions
What are the most common cause groups for a washer leaking?
The most frequently documented sources are loose or damaged supply hoses, a worn or torn door seal on front-load washers, drain hose connection problems, a failing drain pump, excess suds from incorrect or excessive detergent, and a water inlet valve that does not close fully. Tub seal degradation is less common but is a documented cause on older machines.
Which checks are safe for a homeowner to carry out?
External visual checks are generally safe: inspecting the supply hoses for dampness or cracking at the fittings, checking the door seal for tears or debris, confirming the drain hose connection at the standpipe, clearing a clogged detergent drawer, and observing the timing and location of the leak during a small test cycle. Checks that require removing access panels, disconnecting hoses under pressure, or working near electrical components should be left to a trained technician.
Which warning signs mean the washer should not be used?
Stop using the machine immediately if water is pooling near an outlet or power cord, the leak is heavy or continuous, the floor shows softness or staining from prolonged moisture, supply hoses are visibly cracked or bulging, or mould is present in the laundry area. Shut off both supply valves at the wall, and switch off the circuit breaker before approaching the appliance if water has reached any electrical components.
What may a technician test before recommending repair?
A technician will typically run a controlled test cycle, pull the machine from the wall to check rear connections, remove access panels to inspect the drain pump and internal hose clamps, assess the water level switch for overfill faults, and evaluate the tub seal and door gasket structurally. The goal is to identify the actual origin point of the leak rather than just the location where water appears on the floor.
Need Appliance Repair?
Share the appliance, brand, address, symptoms and optional photos online. A contractor can review the request and contact you about availability and next steps.
Start Your Repair Request