
Dishwasher Not Draining: What the Symptoms Can Mean
Dishwasher not draining? Use the standing-water pattern, filter and drain-path checks to narrow the cause before assuming the drain pump has failed.
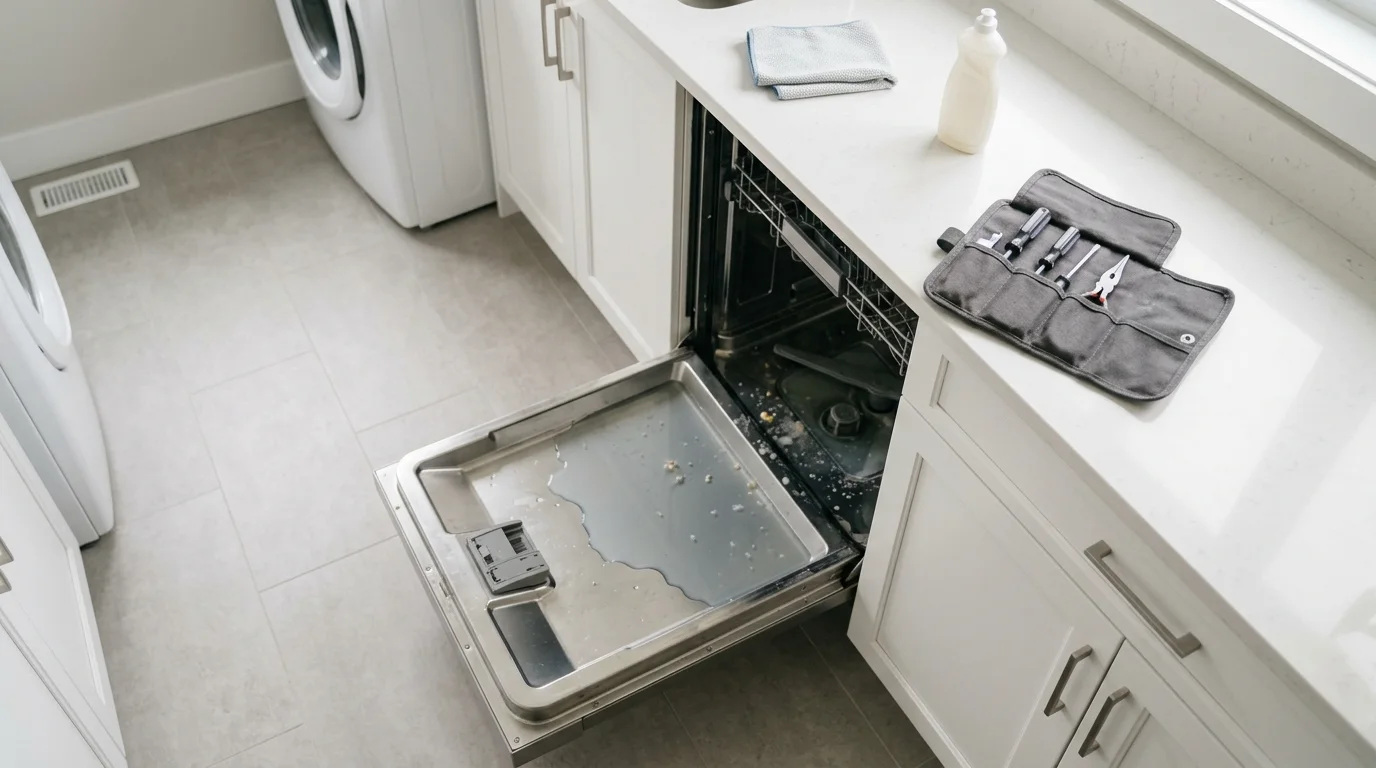
When a dishwasher won’t drain, the useful clue is not standing water by itself but when it appears and what the machine did before the cycle ended. A blocked filter, drain-path restriction, household connection problem or component fault can produce similar symptoms, so start with the accessible drain path before assuming the pump has failed.
When to Stop Using the Dishwasher Right Away
Most dishwasher drainage problems are inconvenient rather than dangerous, but a few situations call for stopping use immediately. Unplug the appliance or switch off the circuit breaker at the panel if you notice any of the following:
- Burning smell or visible scorched wiring: Do not attempt to inspect electrical components yourself. A qualified technician should assess the unit before it is used again.
- Breaker trips repeatedly during operation: This points to an electrical fault. Stop running the dishwasher and have the wiring and components assessed before the next cycle.
- Water pooling on the kitchen floor: Standing water beneath the appliance suggests a leak. Water in contact with electrical components or cabinetry can create additional hazards beyond the drain problem itself.
- Strong sewage smell from the drain area: A mild odour from stagnant water is common with drainage problems and is not itself a stop-use signal. A sharp sewer smell, however, can indicate a plumbing issue extending well beyond the appliance.
KitchenAid’s official dishwasher drainage guidance specifically identifies burning smells, damaged wiring, and a repeatedly tripping breaker as stop-use conditions requiring professional service before the appliance is operated again. This applies regardless of brand.
For standing water inside the tub with no odour, no sign of a floor leak, and no electrical concerns, the appliance can be left with the door open to air out while you work through the cause groups and safe checks below.
Symptom Patterns That Help Narrow the Cause
How the drainage problem presents can help a technician identify the likely cause group more quickly. Note the following before describing the problem to a service provider:
- Was the cycle completed or interrupted? A dishwasher stopped mid-cycle does not drain. If a power interruption occurred or someone opened the door before the cycle finished, try running a complete cycle before assuming a mechanical fault.
- Does standing water appear after every cycle, or only sometimes? Consistent standing water across multiple completed cycles makes a persistent drain-path or component problem more relevant than a one-time interruption.
- How much water remains in the tub? A small amount of water in the filter or sump area can be normal on some models. Water covering the tub floor or remaining well above the filter area after a completed cycle is a stronger sign that drainage did not finish normally; the exact normal level depends on the model.
- Is there a gurgling sound from the sink drain during or after the dishwasher cycle? Gurgling can indicate a shared drain restriction affecting both the dishwasher and the sink simultaneously.
- Is water backing up into the kitchen sink when the dishwasher runs? Backflow into the sink typically points to a downstream plumbing restriction rather than an internal appliance fault.
- Does the dishwasher hum during the drain phase but leave water in the tub? A humming sound during the drain phase suggests the pump is attempting to operate or the drain path is restricted, but it does not prove that the impeller or pump motor has failed.
- Did the problem start right after a new garbage disposal was installed? A retained knockout plug in the disposal’s dishwasher inlet blocks drainage completely and is a documented installation oversight.
Common Cause Groups for a Dishwasher Not Draining
Drainage problems fall into a few distinct categories. Identifying the group is more useful than guessing at a specific part, because one symptom can have several underlying causes.
Blocked drain path
A common cause group is a restriction somewhere along the drain path between the tub and the household plumbing. This group includes:
- A clogged filter at the base of the tub, which collects food particles and grease over time
- A kinked or blocked drain hose between the pump and the sink drain or garbage disposal connection
- A blocked air gap fitting mounted on the countertop or sink deck, where one is installed
- A clogged garbage disposal or a retained knockout plug in the disposal’s dishwasher drain inlet
- A blockage in the sink trap or drain line that forces water back into the dishwasher
Blockage-related causes are also the group most likely to be partially resolved through the homeowner checks described below, because many involve accessible components that do not require disassembly.
Mechanical component failure
When the drain path appears clear but water remains, a mechanical failure inside the appliance is the more likely cause:
- Drain pump failure: The drain pump moves water from the tub through the drain hose and out to the household drain. A failed pump motor, a jammed impeller, or a cracked pump body leaves water in the tub regardless of how clear the drain path is. A pump that hums during the drain phase without moving water suggests the motor is receiving power but the impeller is mechanically blocked or beginning to seize.
- Stuck or failed check valve: Many dishwashers include a check valve in the drain path to prevent dirty water from flowing back into the tub after a drain cycle. If the valve sticks in the closed position, water cannot exit even when the pump and hose are otherwise functional.
Electrical or control issue
The electronic control board or timer sends the signal that activates the drain pump at the end of each cycle. If the board fails to issue that signal correctly, the pump never runs and water stays in the tub even when no mechanical component has failed. A faulty float switch that misreads water level, a failed drain solenoid on models that use one, or a wiring fault between the control board and the pump can all produce the same outcome with the same visible symptom.
Suds buildup or installation factors
Using regular dish soap instead of dishwasher-specific detergent creates excessive suds that interfere with the drain cycle. On a recently installed or repositioned appliance, a drain hose that lacks a high loop before connecting to the household drain, or one installed backward through a check valve, can cause persistent drainage failure from the first cycle onward.
Safe Checks a Homeowner Can Make
Before requesting a service call, several checks are appropriate to perform without tools or disassembly. These steps help rule out several accessible causes. Switch off the dishwasher at the circuit breaker or unplug it before reaching into the tub or touching any components.
Confirm the cycle actually completed
Check the control panel to confirm the wash cycle finished normally. If it was interrupted by a power outage, a tripped breaker, or an opened door, water will remain in the tub. Press the cancel or drain button, or run a short cycle to completion, and confirm whether the water clears before investigating further. On many models, holding the cancel button for three to five seconds triggers a forced drain cycle.
Inspect and clean the filter
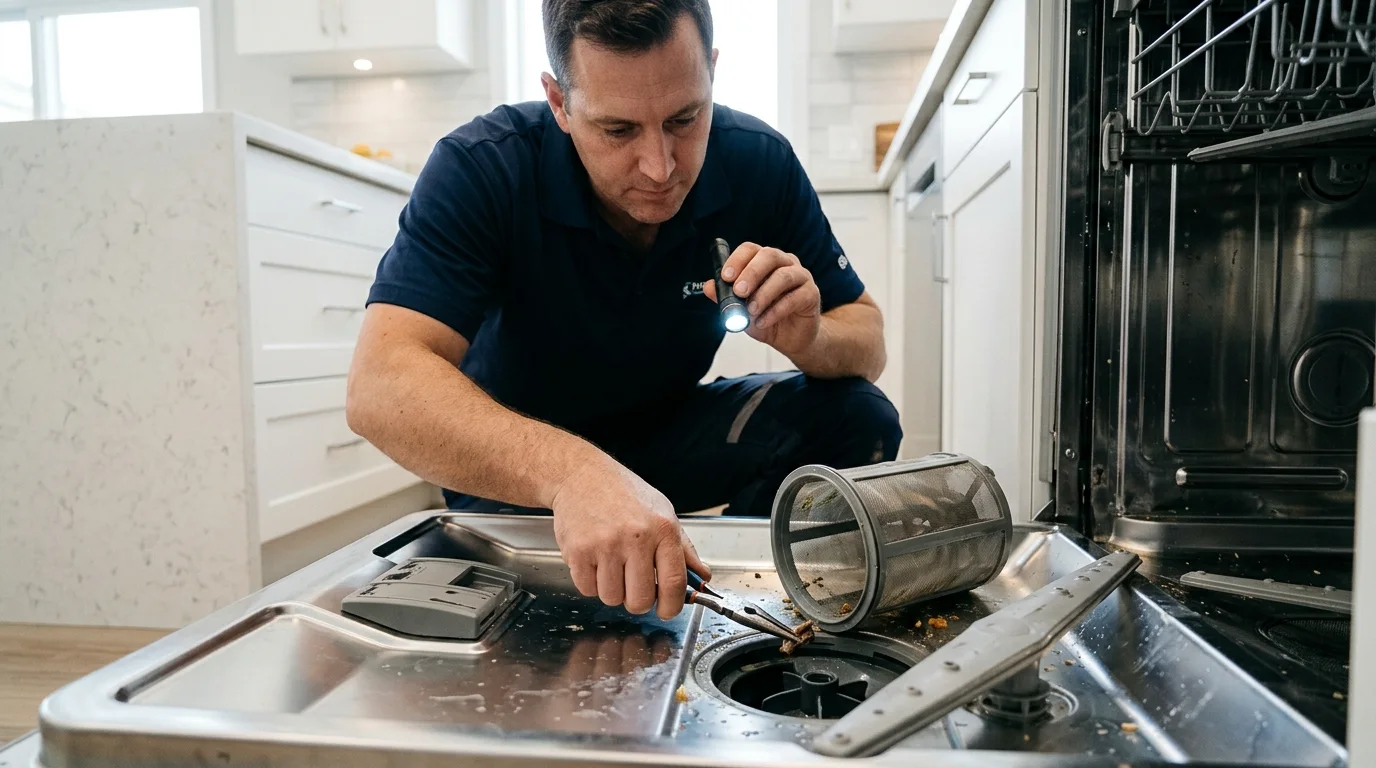
The dishwasher filter sits at the base of the tub near the lower spray arm. Most filters twist or lift out without tools. Refer to the owner’s manual if the removal method is not obvious. Rinse the filter under warm running water and use a soft brush to dislodge food debris and grease. A clogged filter is one of the leading causes of a dishwasher not draining and is one of the few causes a homeowner can address without a service visit. Reinstall the filter correctly before running the next cycle.
Check the garbage disposal connection
If the dishwasher drains through a garbage disposal, run the disposal for 30 seconds with cold water to clear any food debris at the inlet. On a newly installed disposal, confirm that the dishwasher drain inlet knockout plug was removed during installation. This plug, if left in place, blocks drainage from the dishwasher completely and is a common cause when the problem begins immediately after disposal replacement or installation.
Look at the drain hose routing
The drain hose runs from the pump to the sink drain, disposal, or air gap. Look beneath the sink to check whether the hose is kinked or sharply bent. A visible kink restricts flow enough to prevent the tub from draining fully. Also confirm that the hose has a high loop near the underside of the counter before it drops to the drain connection, or that an air gap fitting is in place. The high loop prevents backflow from the sink into the dishwasher tub. Do not attempt to disconnect or flush the hose without first switching off power and the water supply to the appliance.
Check the air gap if one is installed
Some installations include an air gap fitting on the countertop or sink deck. If water is spurting or overflowing from the air gap during the drain cycle, the gap itself or the connecting hose to the disposal is clogged. Remove the decorative cap, lift out the inner cover, and clear any visible debris with a small brush.
What a Technician May Inspect or Test
If the checks above do not resolve the standing water, or if the symptom pattern points toward a pump, electrical, or control issue, the cause involves components that require disassembly or electrical testing. A technician will generally work through the drain system from the tub outward, confirming what is and is not functioning before recommending a repair.
The inspection usually begins by verifying the filter and accessible drain path are clear, then moves to a functional test of the drain pump. The technician will observe whether the pump activates and moves water during a controlled test cycle. A pump that hums but does not drain points toward a jammed impeller, a pump motor that is beginning to fail, or a blockage between the pump outlet and the drain connection point.
Electrical testing with a multimeter can confirm whether the pump motor has continuity and whether it is receiving the correct voltage signal from the control board. If the pump is electrically sound but receives no power during the drain phase, the technician will trace the wiring between the board and the pump and check for damaged or pinched conductors. Wiring faults in this circuit are less common than pump or blockage issues, but they are a documented cause of drainage failure that survives an initial visual inspection.
The check valve, where present, will be inspected for free movement when the sump area is accessed. A check valve stuck in the closed position is visible and can be confirmed quickly. On models with a drain solenoid, the solenoid and its wiring are tested as part of the same electrical check.
Where the dishwasher shares a drain with a kitchen sink that is also draining slowly, the technician may identify a downstream plumbing restriction as the primary cause rather than an appliance component fault. In those cases, clearing the sink trap or the shared drain line resolves both problems in a single service call.
Repair vs. Replacement: Context for a Drain Problem
A dishwasher not draining does not automatically mean the appliance needs to be replaced. A filter clog, kinked hose, or blocked disposal connection may be a straightforward correction regardless of the appliance’s age.
For more involved faults, the appliance’s age is only one part of the decision. The confirmed failure, overall condition, repair history, parts availability, and the quoted repair scope matter more than a universal age cutoff. A technician’s assessment gives you the information needed to compare a specific repair with replacement without assuming that every older dishwasher should be replaced or every newer one should be repaired.
When to Request Appliance Repair
If the homeowner checks above did not resolve the standing water, or if the symptom pattern points toward a pump, electrical, or control issue, a professional diagnostic assessment is the appropriate next step. An independent dishwasher repair assessment can confirm the specific cause, test components that cannot be safely accessed without disassembly, and give you a clear picture of the repair before any work is approved.
Attempting to disassemble internal components or replace a drain pump without prior experience carries a real risk of damage to adjacent parts and may affect remaining warranty coverage on a newer unit. For any issue that requires internal disassembly or electrical testing, professional diagnosis is the safer and more reliable path.
You can Request Appliance Repair to arrange a diagnostic assessment for your dishwasher in the Greater Toronto Area. Include any symptom details: standing water level, sounds, timing, and whether a new disposal was recently installed: to help the technician start with the most likely cause.
Need Appliance Repair?
Share the appliance, brand, address, symptoms and optional photos online. A contractor can review the request and contact you about availability and next steps.
Start Your Repair Request